Thursday, July 29, 2010

Day 24 -- Essentially finished

I would like to take this moment to contend that this dollhouse is not my finest work. Sadly, I'm afraid that that may be a lie.

After finishing the trim on the other side of the house, I realized I had used the wrong trim pieces. *After* I had cut them to fit. (No pictures to immortalize this duh moment.) Did it again:


This made making the trim on the porch difficult because I had already cut the pieces I needed:


So I had to piece together the last piece, leaving a visible seam (click on this picture and zoom in to see it:


The partitions haven't been glued in because they haven't been painted/papered. Same for the stairs and the stairway stringers, but here's where they go:


So my work here is done. The ultimate decorators will arrive tomorrow and further pictures will show their choices. And yes, I still have a pile of touch-up painting to do before they start. That's tomorrow's job as I'm too upset with the final result to mess with it now.

Wednesday, July 28, 2010

Day 23 -- Shingles done, it's time to screw up the trim!

Finished the shingles (at last!)


To the trim! Well, not quite. First I had to do some edge painting, which I had forgotten. In fact, after I finished for the day I realized that I'll have to second coat some of the stuff. Ah well.

Eave trim on one side along with the white stuff (I forget what's it's called):


Installed the windows. Uncharacteristically, I dry fitted all the windows without glueing first, which was handy because the windows and the window openings are not all created equal:


I was also supposed to glue in the door, but I couldn't find the tiny doorknob which I had carefully put away in a safe place. So I had to order another one from my store.

Added the side trim (after painting the edges, of course). Couldn't do the other side as I forgot to paint the edges on that until I had done everything you see on this page. Tomorrow?


Glued the tiny porch trim on the upper level, not noticing until after that I still need to paint the top of the porch white. Couldn't attach the lower porch level trims because they, too, needed paint on their edges.


Then I started cleaning up and noticed the doorknob hiding under some tape (so much for a 'safe place'), so I glued it on and installed the door:

Monday, July 26, 2010

Day 20 - 22 Shingles (Argh!)

Gluing shingles, when there are this many, is a multi-day process. Not only because it's frustrating, but because the fumes get to me after a while. First I shingled the back:


Not realizing that I would have to take off the entire final row, which is a shame because several days passed before I realized this, so the glue had time to set as hard as possible, which made removing that row a royal pain in the patootie.

Here's the progress on the front:


At this point, Mr. Critical came downstairs and asked me if I were going to color in the "gaps." (If you click on this picture you can see the one and only gap. grrrrr.) He then treated me to a lecture all about flashing. I really didn't need to hear that.
More progress:


Now the top row is supposed to be a 'Boston lap.' The shingles are put on sideways, which is what I did on the back (although I didn't realize that they were supposed to go on from the ends to the middle, with the final shingle overlapping each of the ones on its side). Problem is, the front didn't end nicely -- had I done the shingles sideways, there would have been a gap between the next to last and the final row. So I had to take off all those shingles in the back so that I could lap the front and back shingles so as not to leave any lines on the top of the house.
I had to stop.
Here's what the back looked like after I tore off the row of shingles, before I filed down the glue trail:
I took a break at one point and glued the stairs together. They still need to be painted, as do the stair stringers, but I'm waiting for my interior decorator to get here this weekend to decide on colors.

Tuesday, July 20, 2010

Day 19 -- Coffee break's over

Vacation's over and it was time to construct! Shingle lines drawn, the roof got glued on:


Then the gable:

Supports for the porch roof:

Gable roof:

Porch roof:

Dormer window and roof:

Shingle lines:


Dormer glued on:

I had to shave some off the dormer to get it to line up with the roof and there are still gaps. But, after the glue dried it seemed sturdy:


And shingles beginning to go on (the back's complete):

All this took all day, with far too many trips up and down stairs, waiting for glue to dry. Tomorrow it looks like a shopping day as I'm about out of liquid glue for the shingles.

Tuesday, June 29, 2010

Day 18 -- Substantial Pride Intermingled with Complete Panic

Too impatient to wait for help, I set the house on the foundation and glued it on. It's not perfectly centered, but I suspect, were it not for confessing it here, no one would ever know.
Glued on the porch floor.
Weighed everything down and waited for the glue to dry.
Taped trim stock on the outside of the house for the balcony roof to balance on (I'm not sure, but I suspect that trim was only meant for this temporary use and there was no need to paint it).
Using the glued together porch railing as a guide, marked where the posts go and glued them. Then re-glued the entire porch railing which fell apart when I moved it. grrr.
Glued on the porch roof (tape, tape, tape) and the porch railing (after marking where the top was to get glued to the porch posts).
Tape, tape, tape.
Moved those trim guides to the balcony so the balcony roof could rest on it while the glue dried.
On goes the porch roof.
With the house on its back, glued the facia on the balcony. More tape. More waiting for the glue to dry. In fact, most of today was spent waiting for glue to dry.
And now for the panic. Glued the small bits onto the front roof. The bits which I had painted white, although they will be covered with shingles. (Panic in a minute.)

Curious as to why it was necessary for any reason but convenient packaging for these little pieces not to be cut with the roof when it was created. Which would have saved me some heartache.

Glued the back eaves onto the back roof.
Now for the panic. The roof is supposed to fit snug onto the top floor, with those little pieces hugging the sides of the house, not sitting on top.

Intended to sent a panicked email to my mentor at the dollhouse store asking for advice.

Carefully marked shingle lines on the front and back roofs. I was then supposed to set the roofs onto the house, mark where they over hanged the house and paint to the marking. Realized that I had marked the shingles on the wrong side of the back roof. Decided to just paint the whole blessed thing and will remark the other side when the paint dries.
At this point I realized that those little front eaves weren't squares, but rectangles, so I pried them apart, the glue having not yet dried, painted them on the underside to match the blue on the underside of the front (which will be the ceiling on the upper floor) and, when that paint dries, will re-glue. Of course, that means I need to re-draw all the shingle lines.

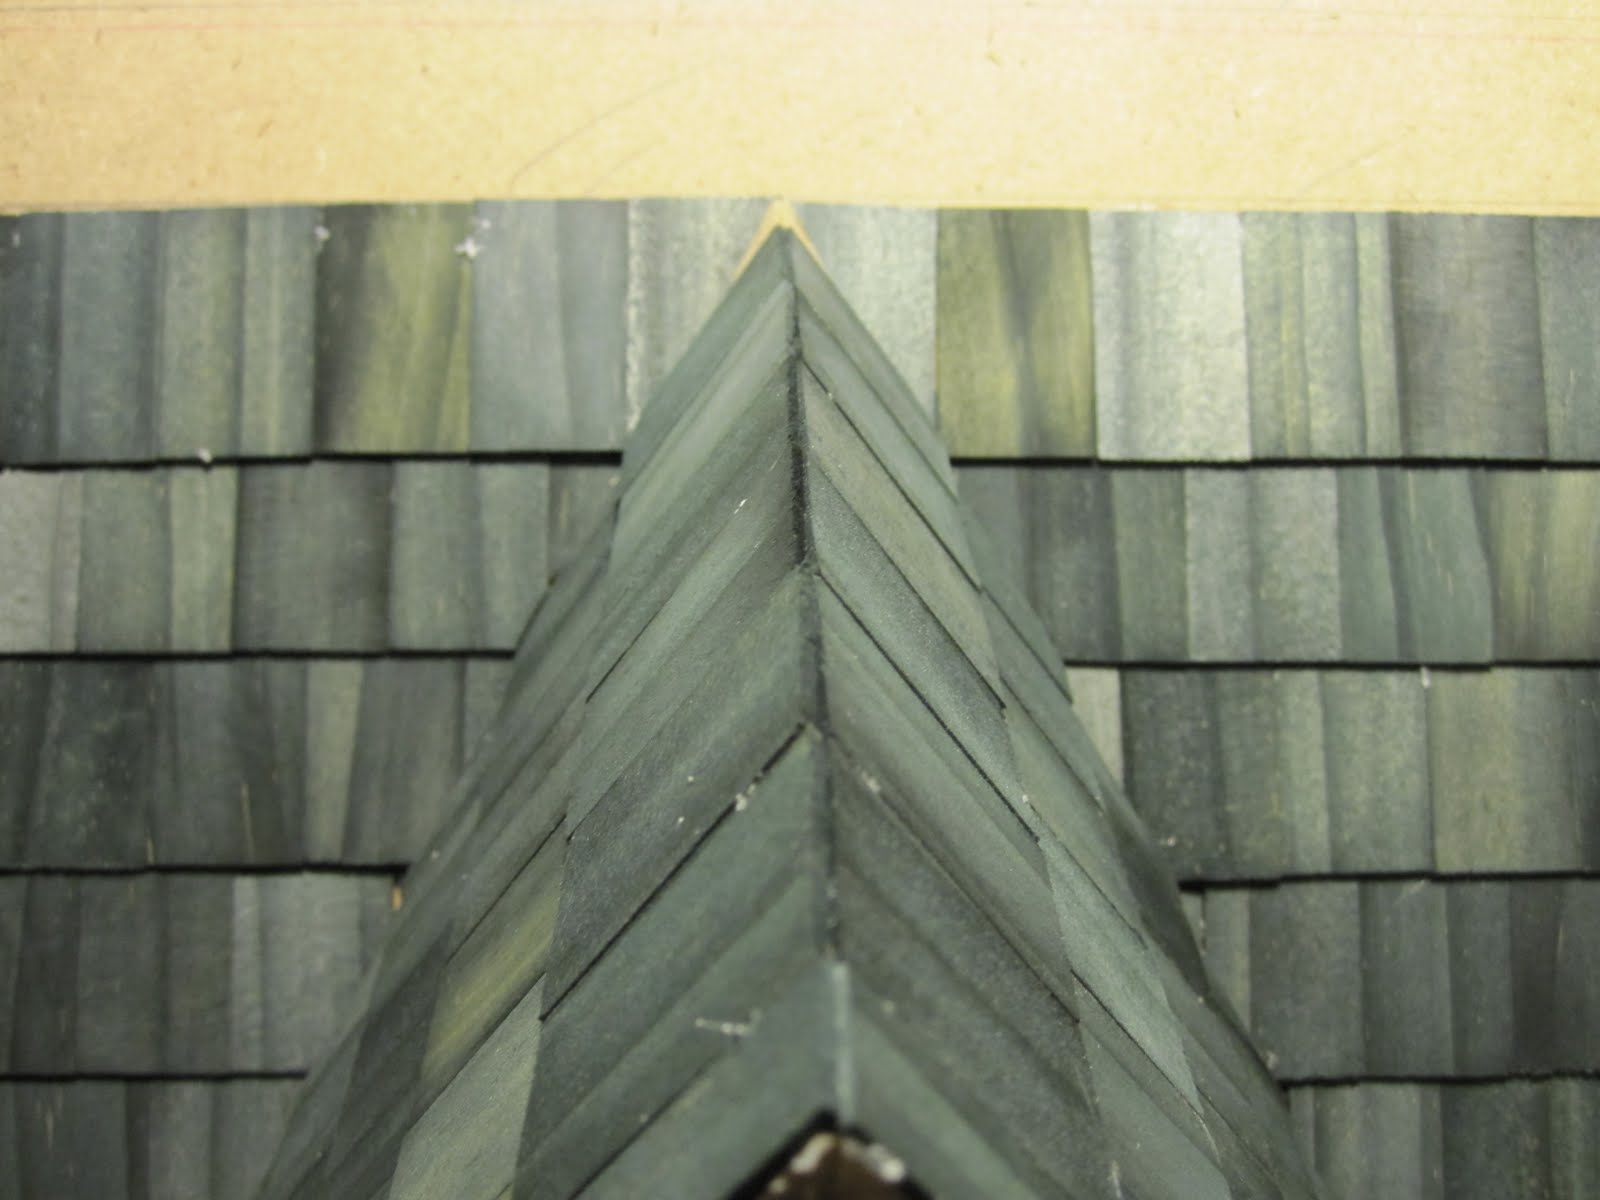
Figured I needed something positive to end the day, so I carefully set the front roof on just to see what it looked like.

I'm pleased.